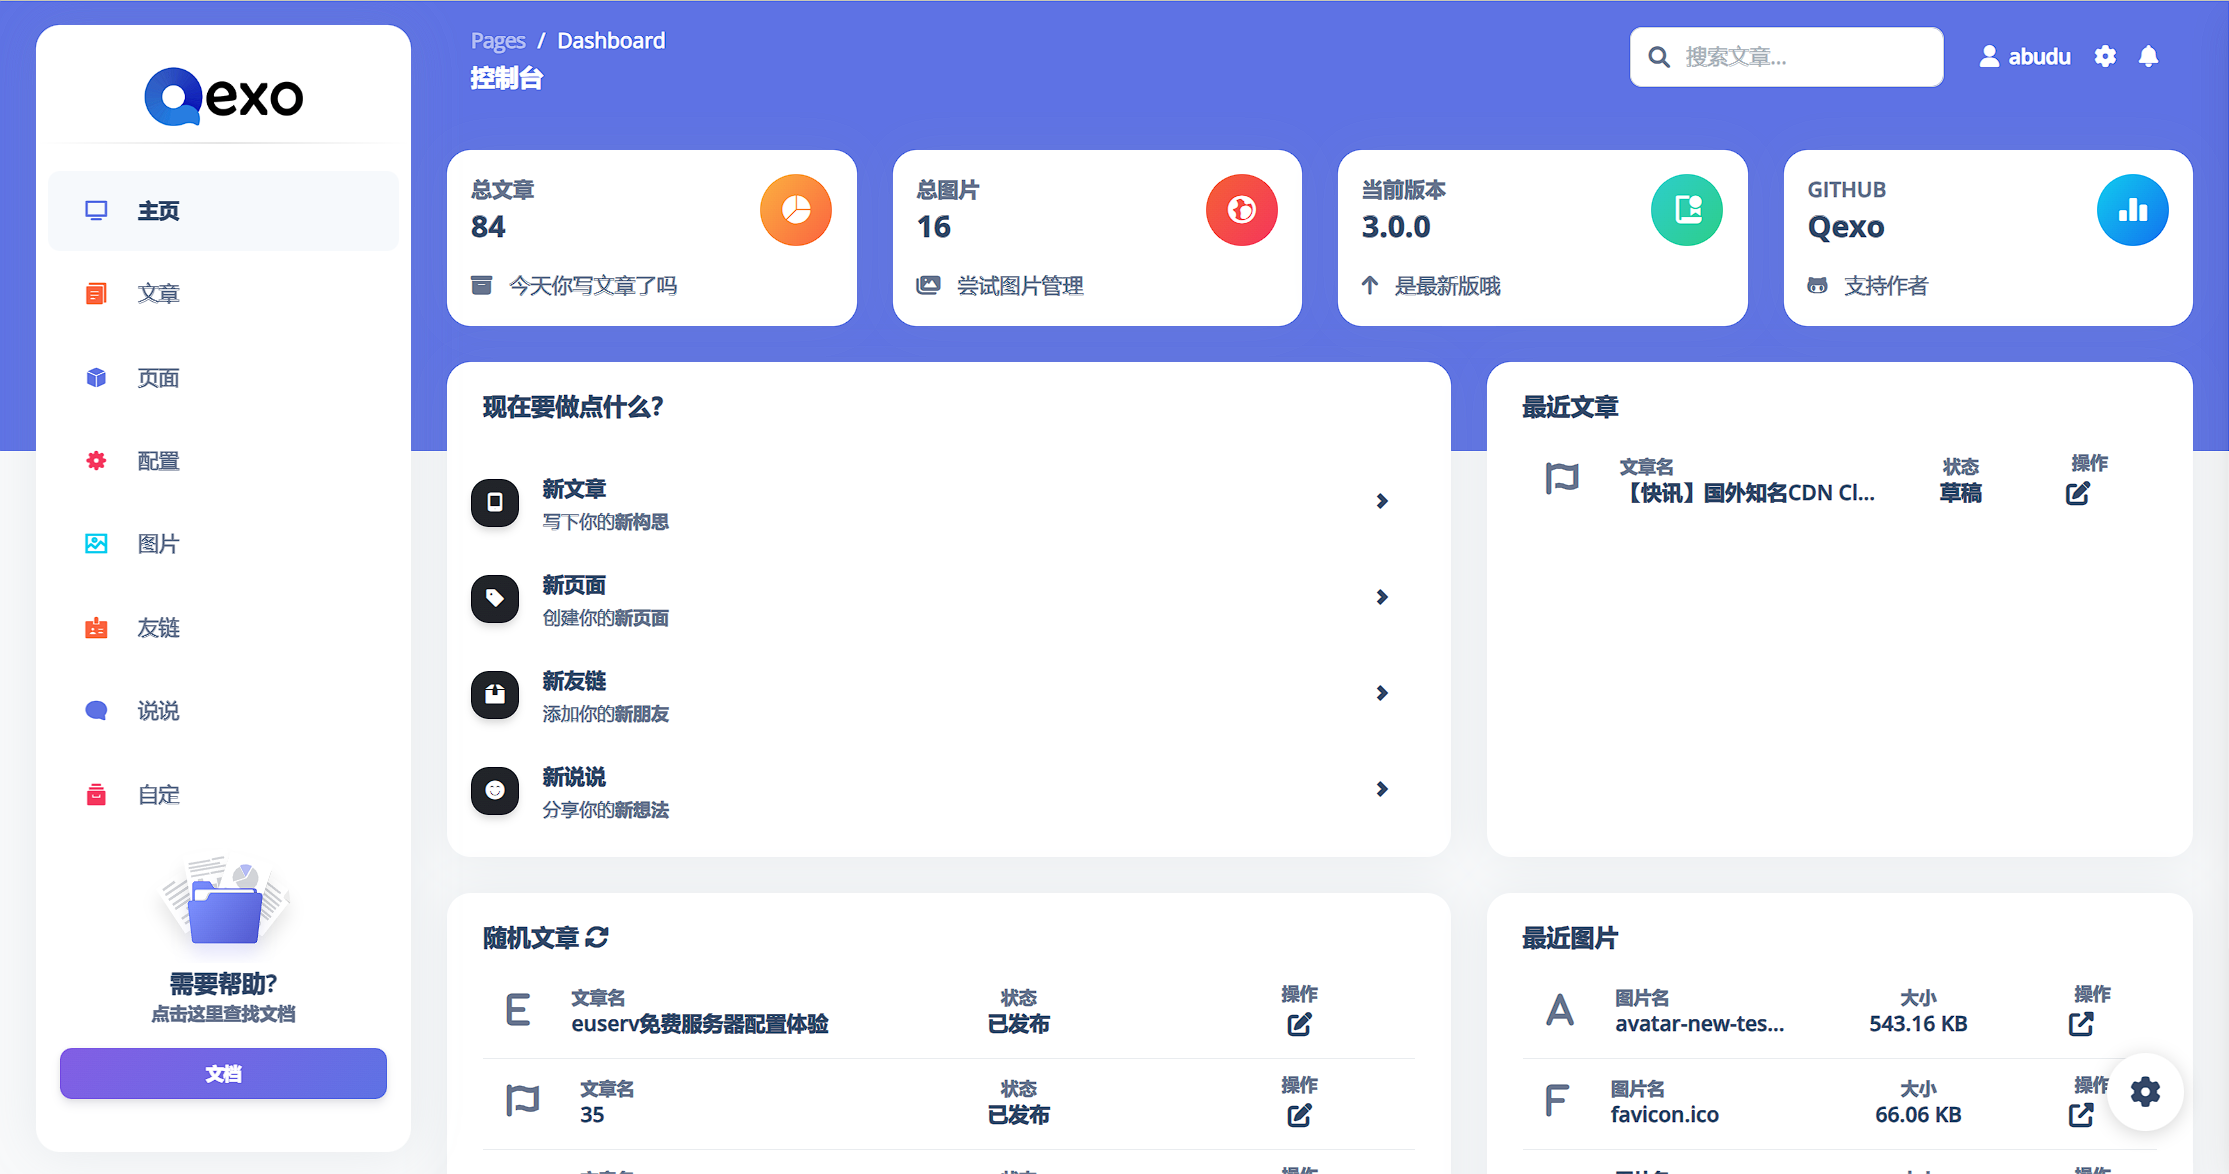
前言
Qexo 是一个快速、强大、漂亮的在线静态博客平台编辑器, 其具有以下特点
- 自定义图床上传图片
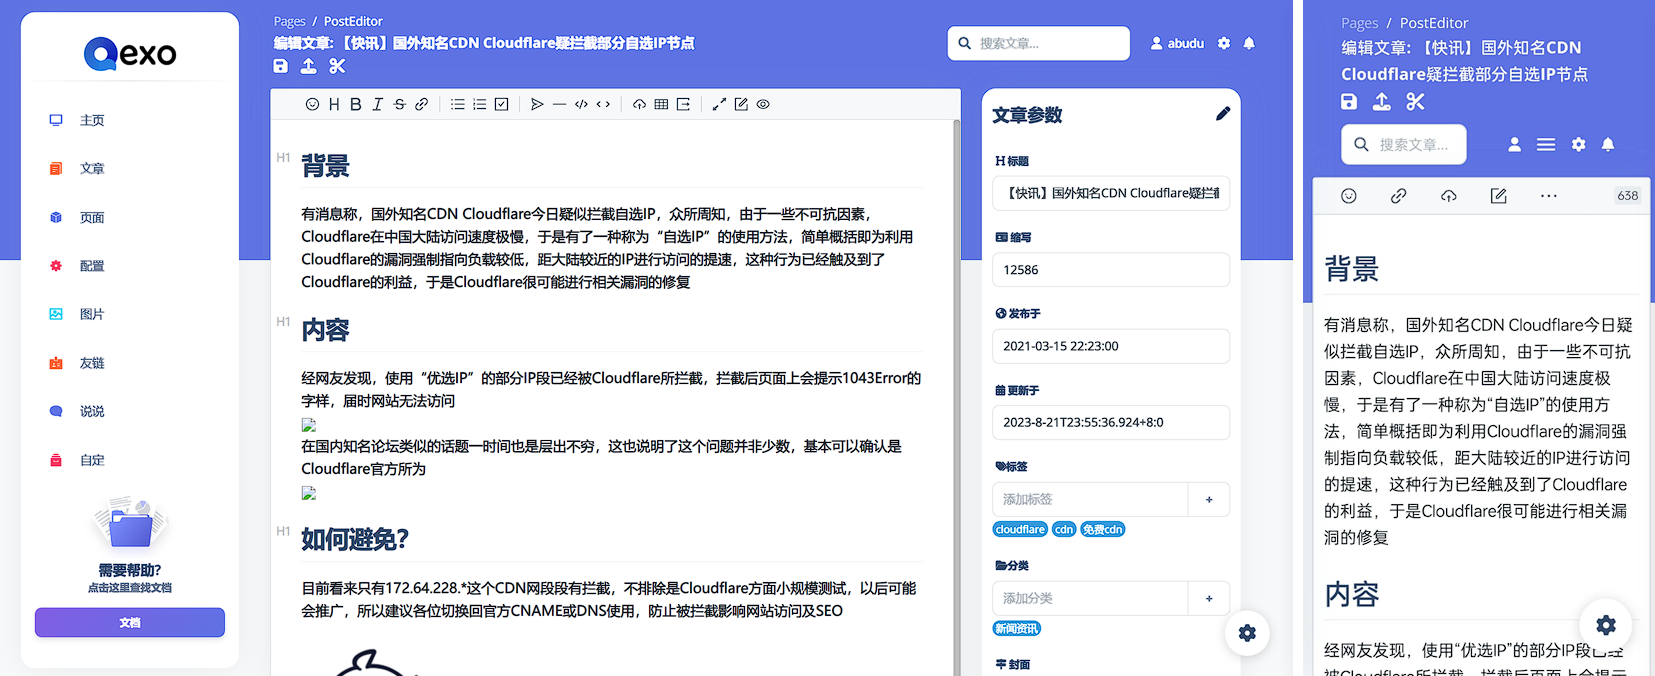
- 在线配置编辑
- 在线页面管理
- 开放 API
- 自动检查更新
- 在线一键更新
- 快速接入友情链接
- 简单的说说短文
- 类似不算子的统计
- 自动填文章模板
本文主要介绍 Hexo 的部分
安装教程
1. 准备工作
安装nginx, git, python3
1
2
3
4
| # Debian/Ubuntu
apt install -y nginx git python3 python3-pip/python-pip
# CentOS/AlmaLinux
yum install -y nginx git python3 python3-pip/python-pip
|
下载 Qexo Release 到目录
ㅤQexo - Githubㅤㅤ卡片式链接 | https://github.com/Qexo/Qexo/releases
2. 安装数据库
下载mysql
ㅤmysql - downloadㅤㅤ卡片式链接 | https://downloads.mysql.com/archives/community/
建议 5.7.x 版本
上传并解压安装
按一下顺序安装
1
2
3
4
5
6
7
| mysql-common
libmysql*
# 若要安装 libaio1 则安装一下
# apt install -y libaio1
mysql-client...
mysql-comminity-client...
mysql-community-server...
|
添加Mysql配置文件
在根目录创建 configs.py, 并填入以下内容
1
2
3
4
5
6
7
8
9
10
11
12
13
14
15
16
| import pymysql
pymysql.install_as_MySQLdb()
DOMAINS = ["127.0.0.1", "yoursite.com"]
DATABASES = {
'default': {
'ENGINE': 'django.db.backends.mysql',
'NAME': 'db name',
'USER': 'db user',
'PASSWORD': 'db password',
'HOST': '127.0.0.1',
'PORT': '3306',
'OPTIONS': {
"init_command": "SET sql_mode='STRICT_TRANS_TABLES'"
}
}
}
|
或Sqlite配置文件
1
2
3
4
5
6
7
8
9
10
11
| from pathlib import Path
import os
import json
DOMAINS = json.loads(os.environ.get("DOMAINS", "[]")) or ["example.com"]
DATABASES = {
'default': {
'ENGINE': 'django.db.backends.sqlite3',
'NAME': Path(__file__).parent / 'db' / 'db.sqlite3',
}
}
|
3. 安装各种依赖
1
2
3
| pip3 install -r requirements.txt
python3 manage.py makemigrations
python3 manage.py migrate
|
4. 测试启动并写入 Systemd
测试运行
1
| python3 manage.py runserver 0.0.0.0:8000 --noreload
|
写入 systemd 服务
1
2
3
4
5
6
7
8
9
10
11
12
13
| cat >/etc/systemd/system/qexo.service<<-EOF
[Unit]
Description=Qexo Server
After=network.target
[Service]
ExecStart=/usr/bin/python3 <qexo目录>/manage.py runserver 0.0.0.0:8000 --noreload
Restart=on-failure
RestartSec=1s
[Install]
WantedBy=multi-user.target
EOF
|
重载、启动并设置开机自启
1
2
3
| systemctl daemon-reload
systemctl enable qexo
systemctl start qexo
|
5. Nginx配置
1
2
3
4
5
6
7
8
9
10
11
12
13
14
15
16
17
18
19
20
21
22
23
24
25
26
| server {
server_name your_site;
listen 443 ssl http2;
ssl_certificate 证书;
ssl_certificate_key 私钥;
ssl_protocols TLSv1.1 TLSv1.2 TLSv1.3;
listen 80;
if ($scheme = http) {
return 301 https://$host:443$request_uri;
}
location / {
proxy_pass http://127.0.0.1:8000;
proxy_redirect off;
proxy_set_header Host $host;
proxy_set_header X-Real-IP $remote_addr;
proxy_set_header X-Forwarded-For $proxy_add_x_forwarded_for;
proxy_set_header X-Forwarded-Host $http_host;
proxy_set_header X-Forwarded-Port $server_port;
proxy_set_header X-Forwarded-Proto $scheme;
proxy_http_version 1.1;
proxy_set_header Upgrade $http_upgrade;
proxy_set_header Connection "upgrade";
proxy_redirect http:// https://;
}
}
|
6. 各种设置
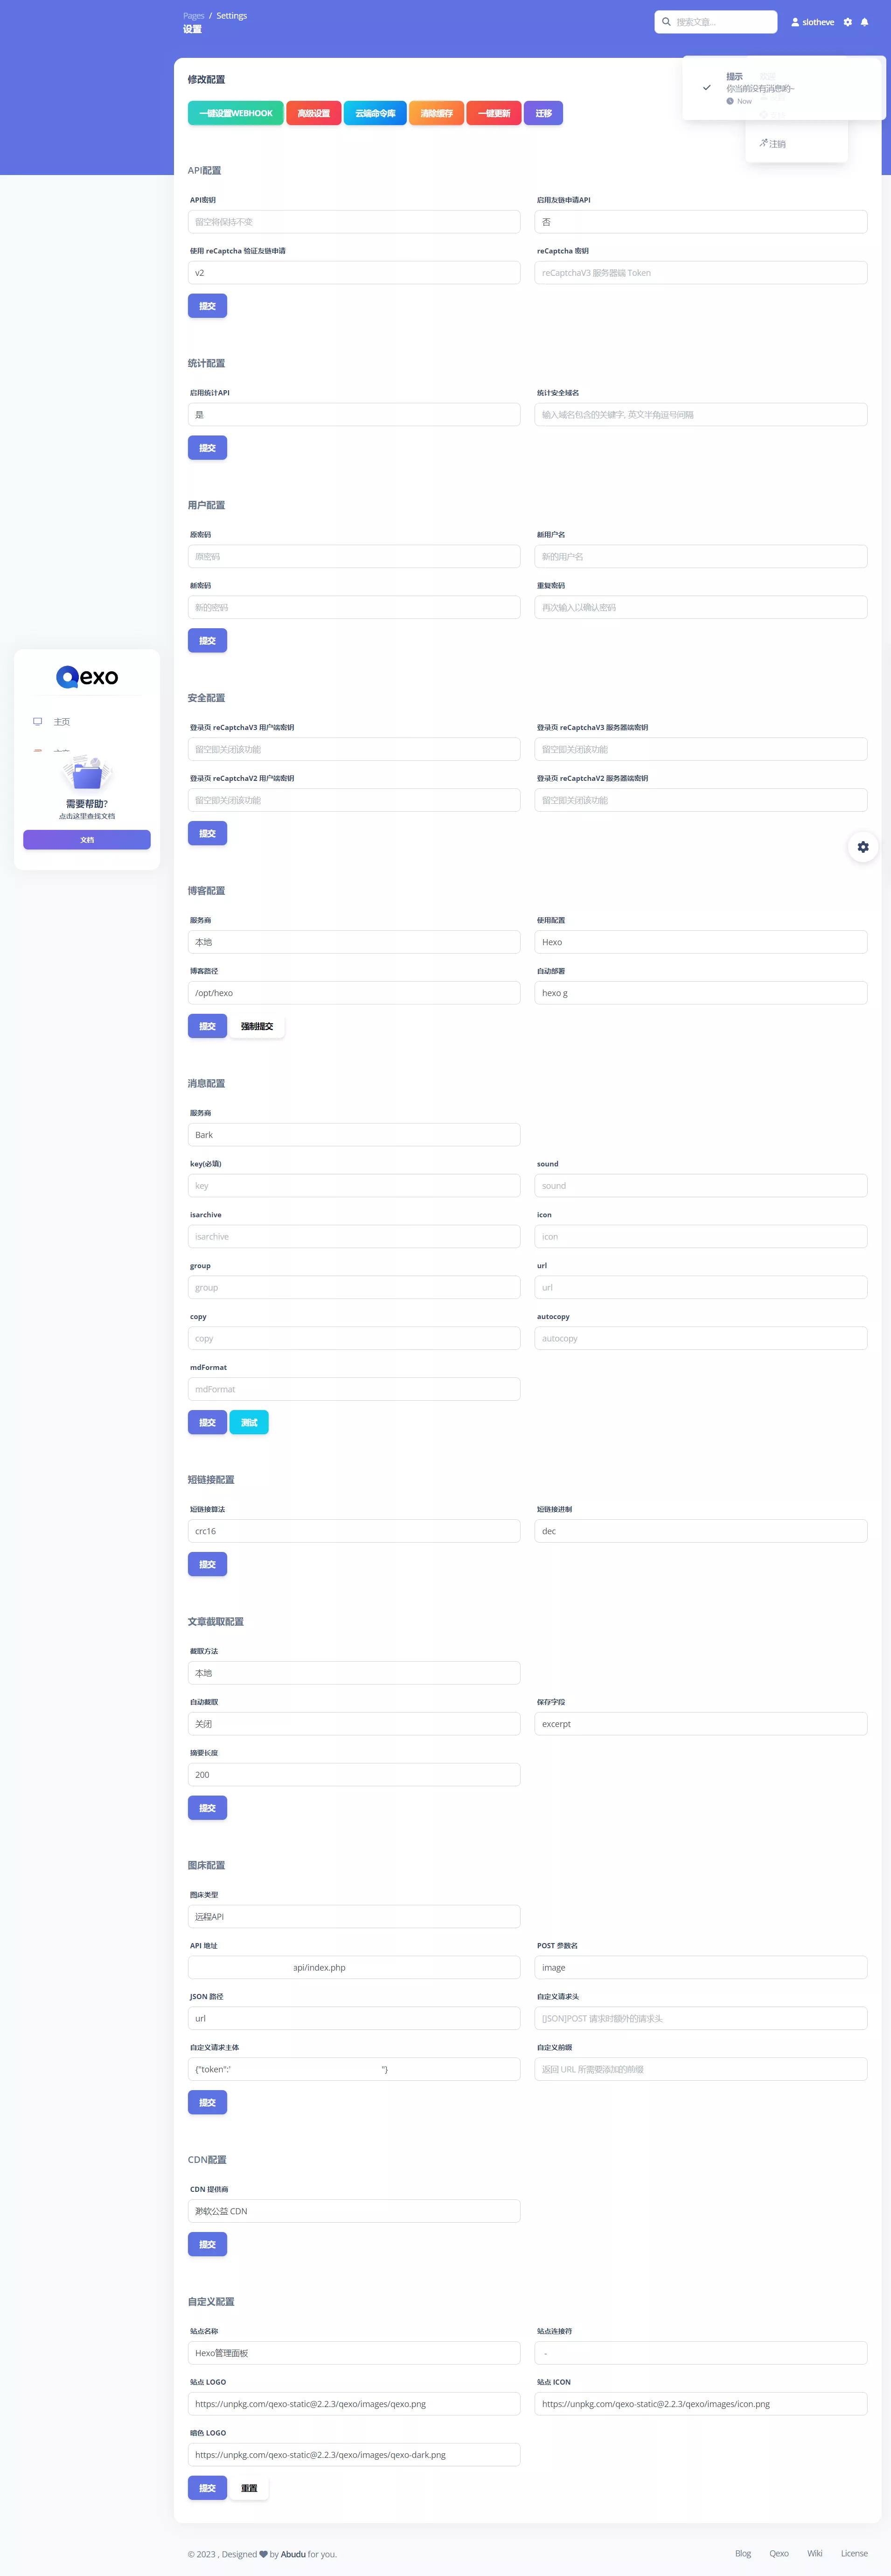
图床搭建参考这篇文章:
ㅤQexoㅤㅤ卡片式链接 | https://www.slotheve.com/31.html
演示